Cursive alphabet worksheets
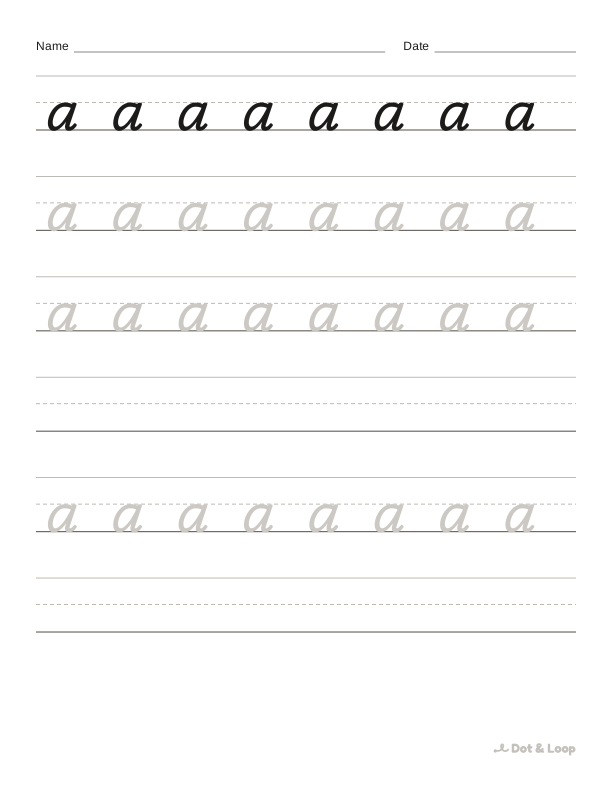
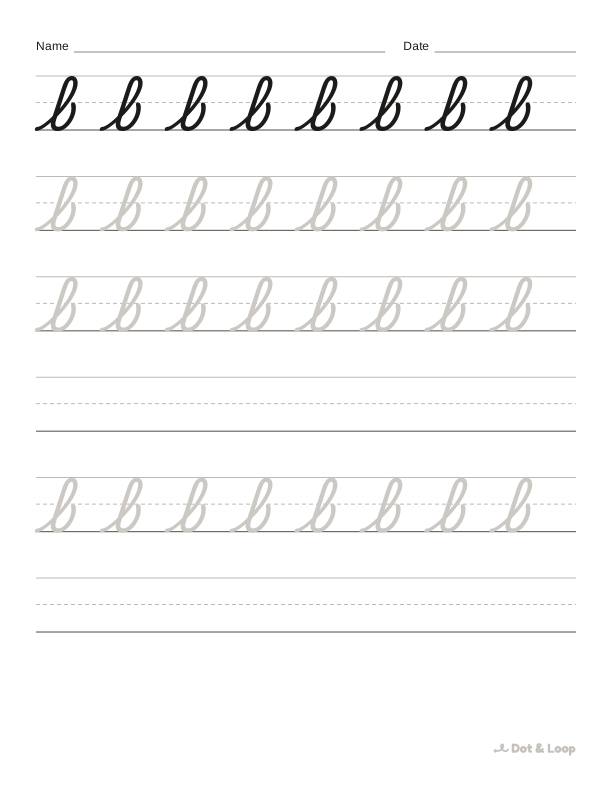
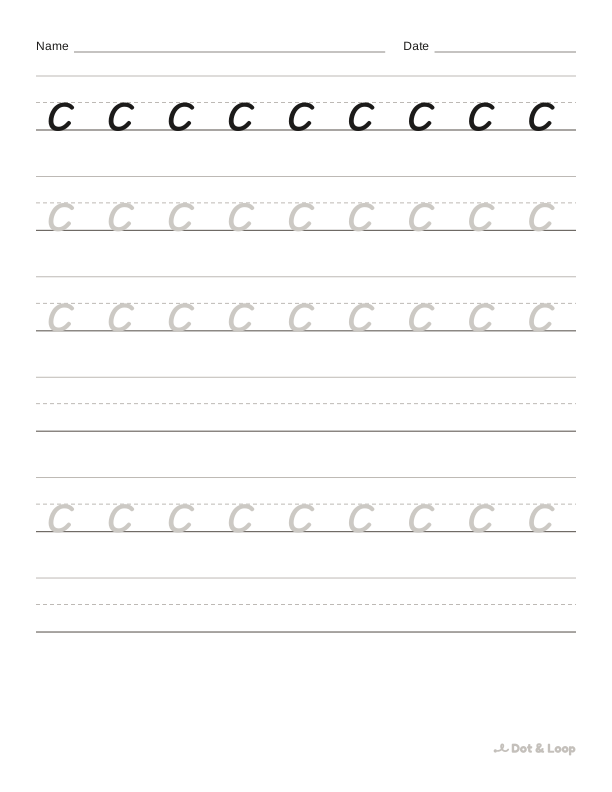
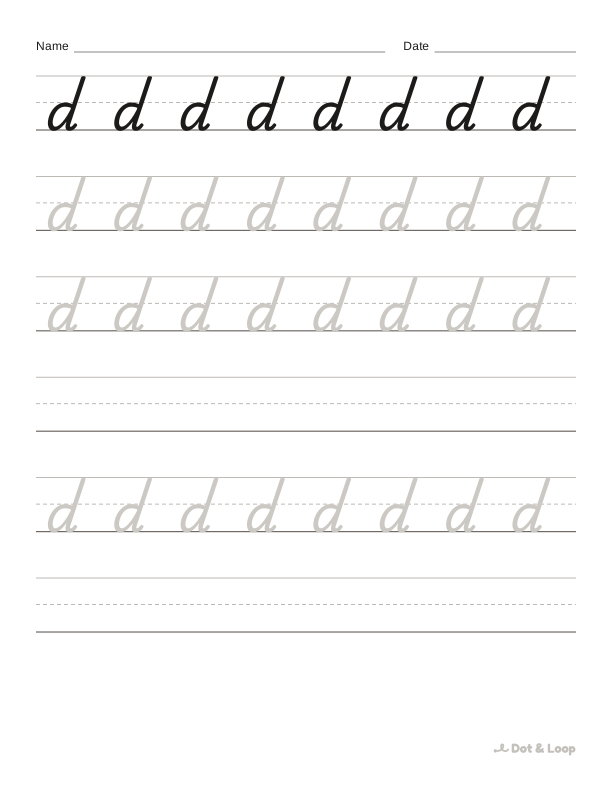
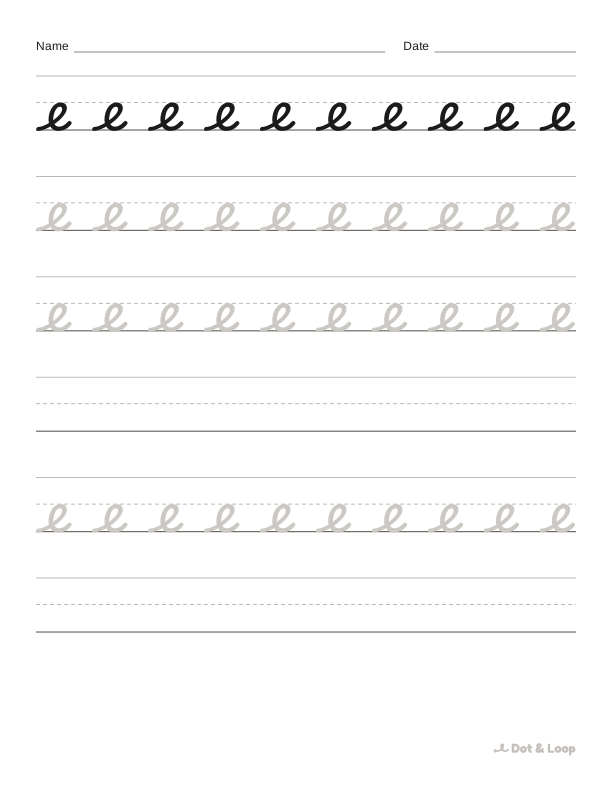
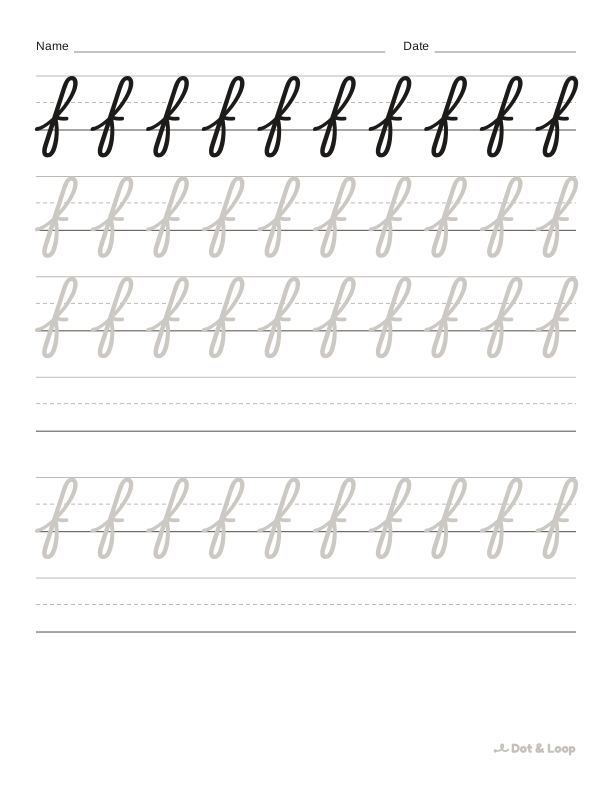
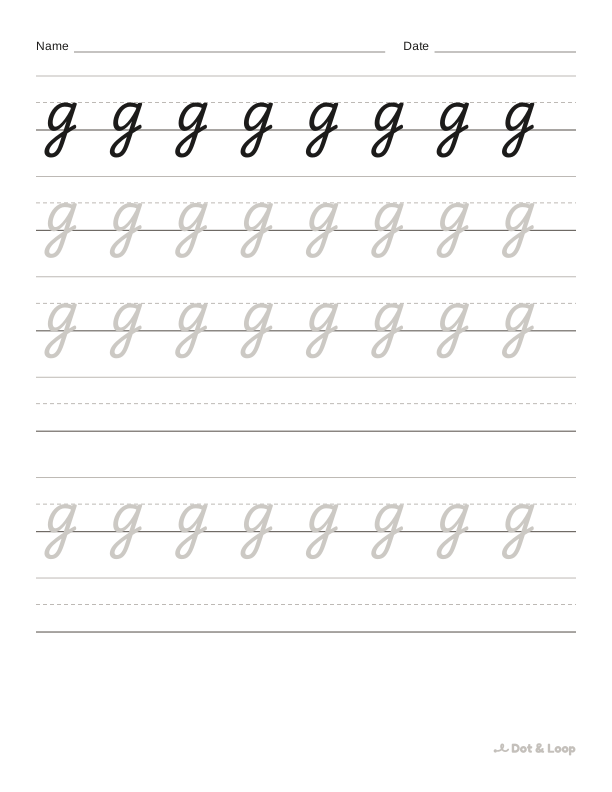
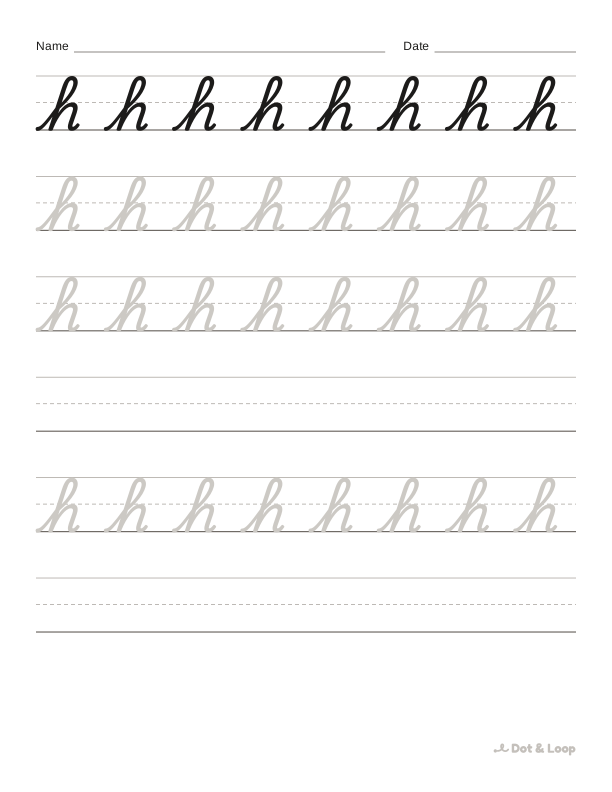
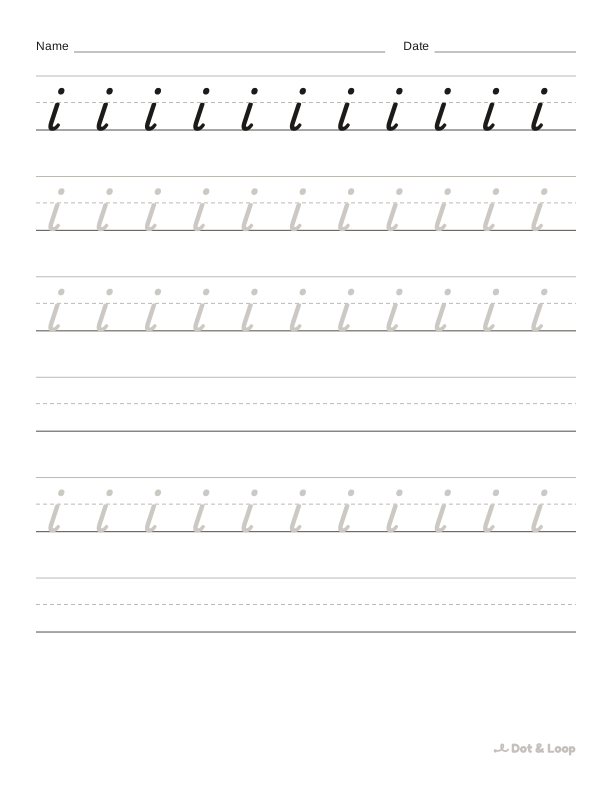
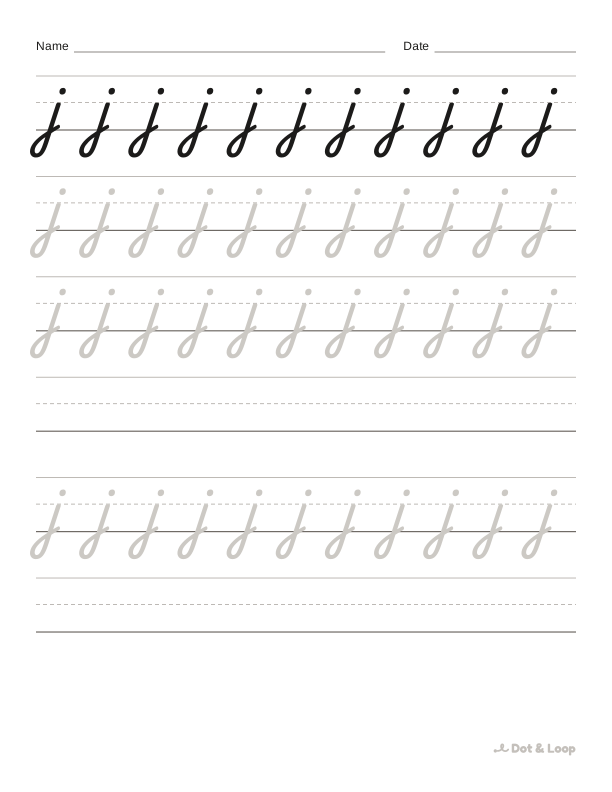
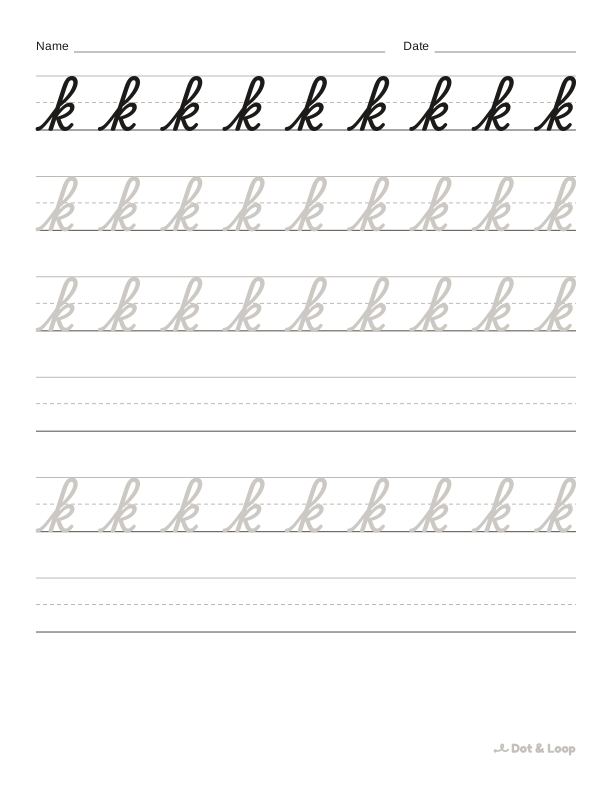
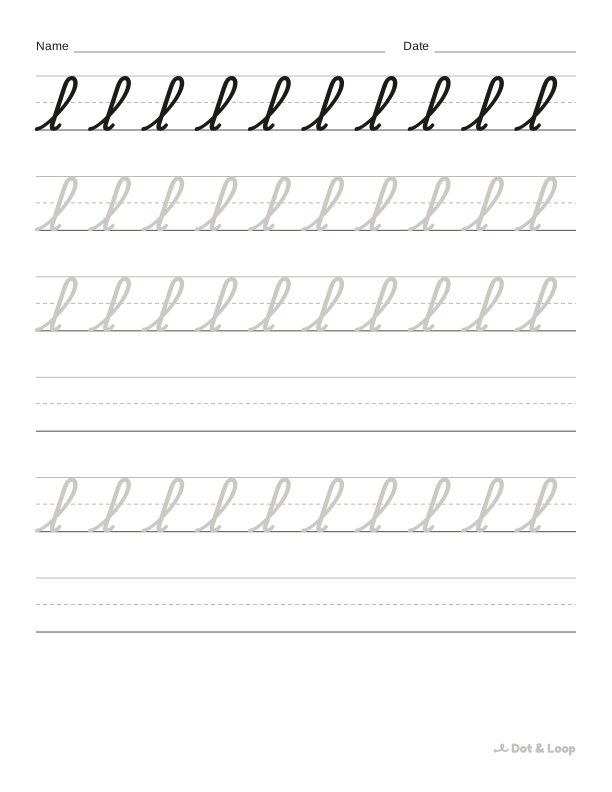
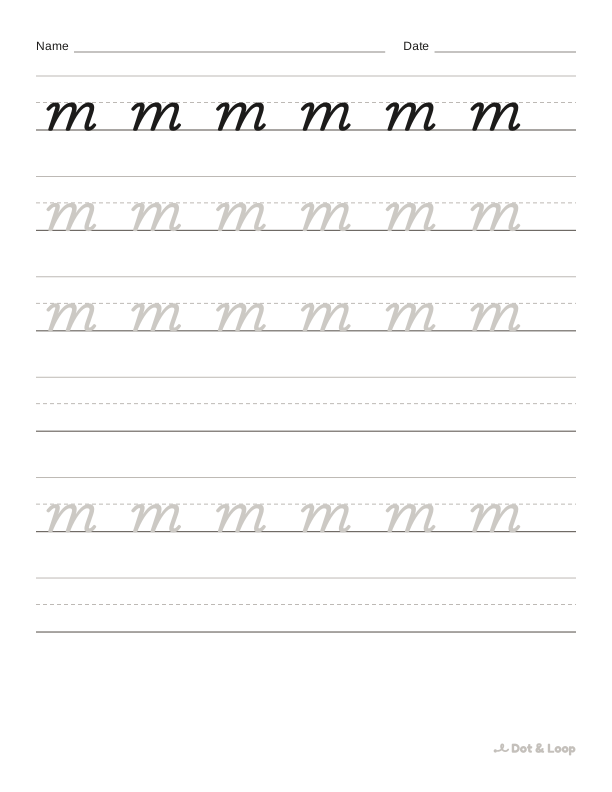
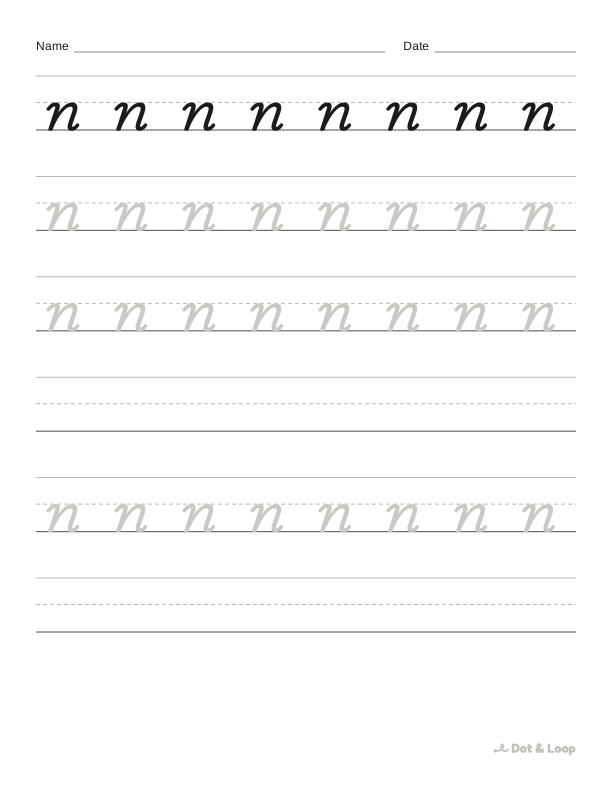
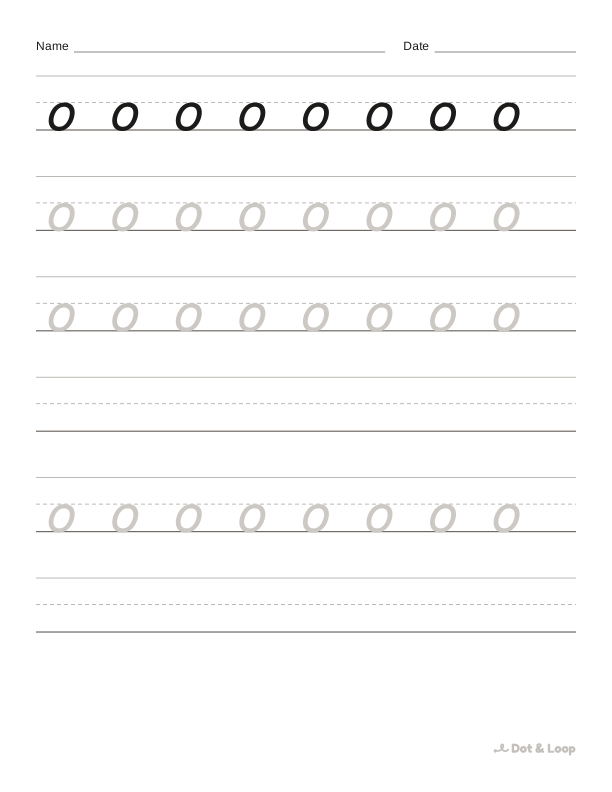
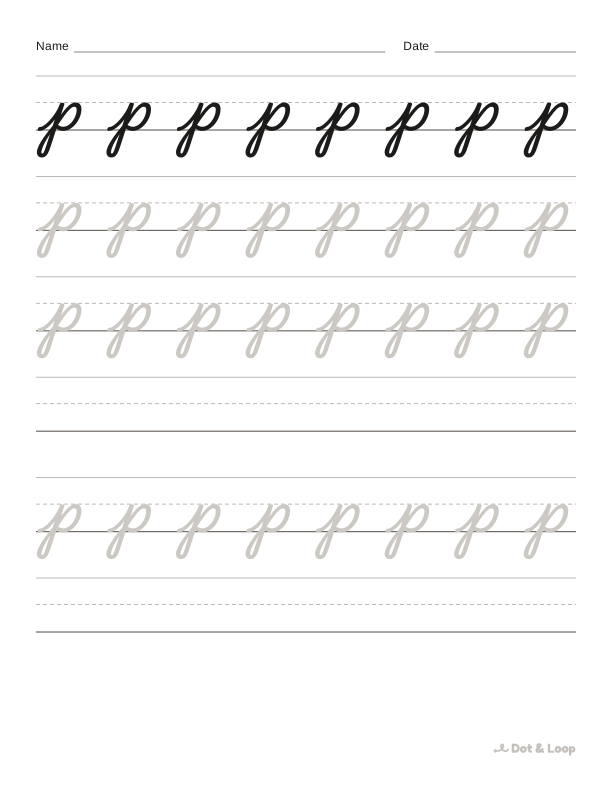
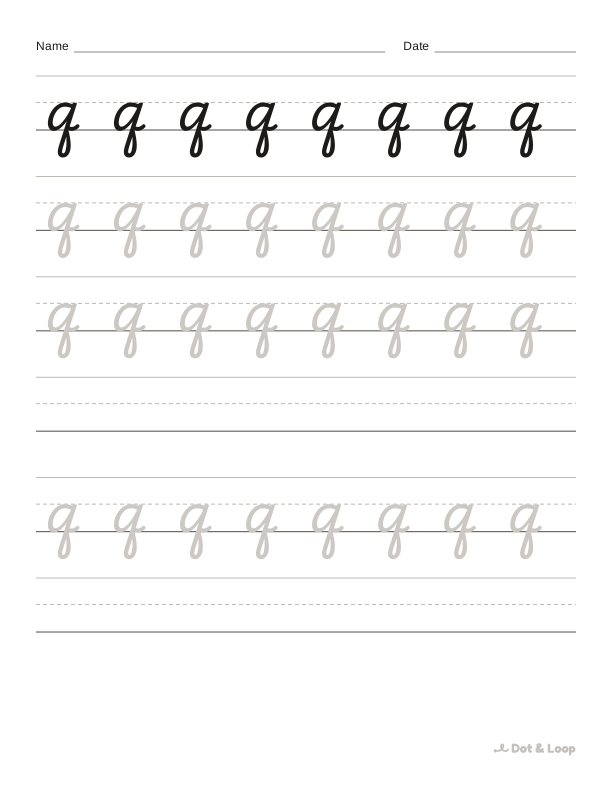
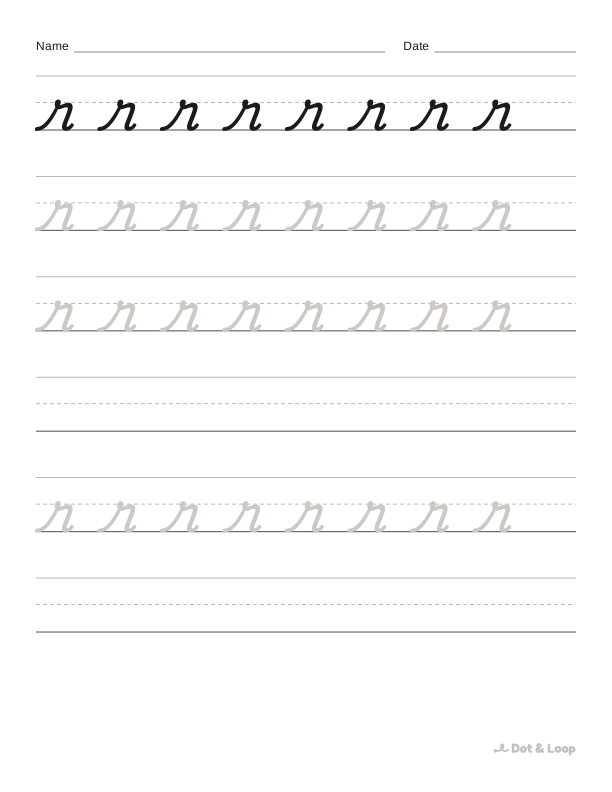
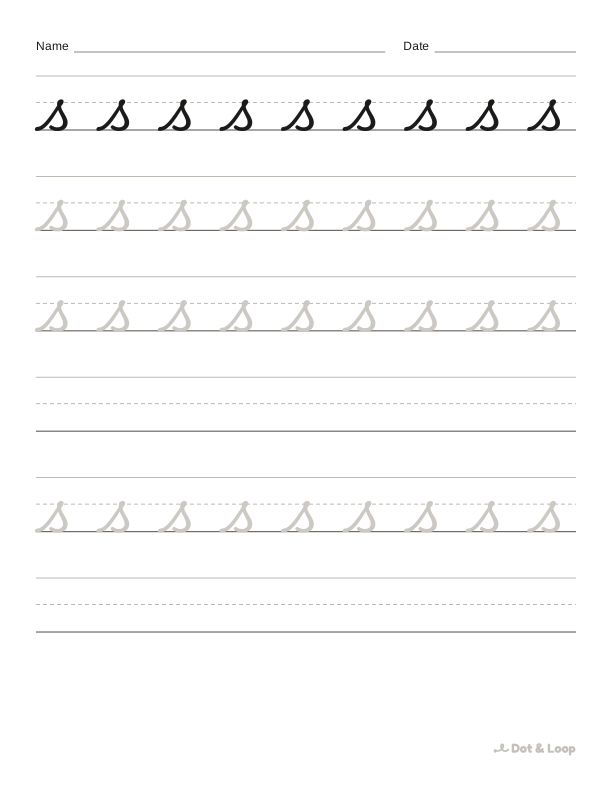
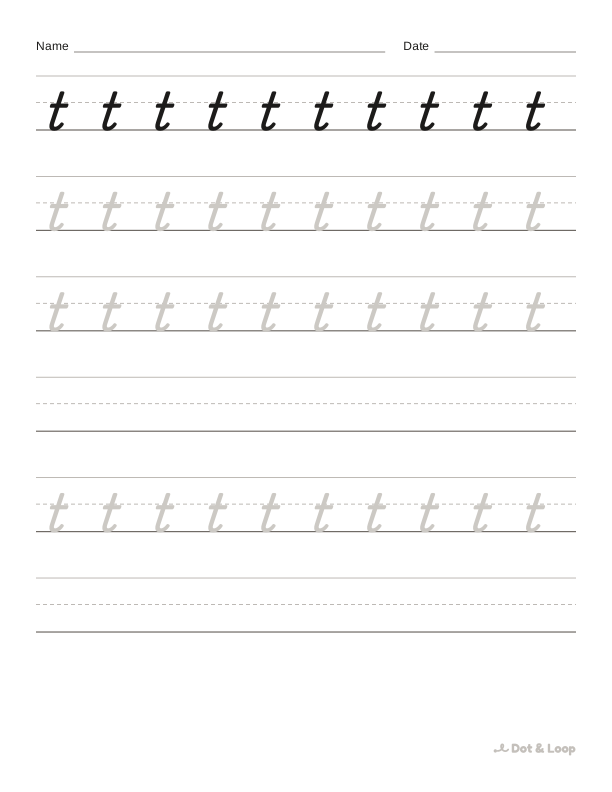
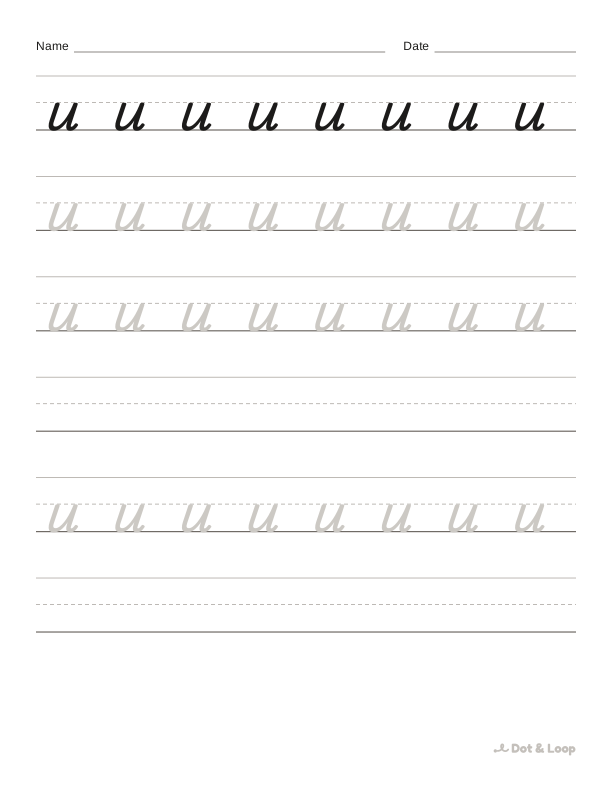
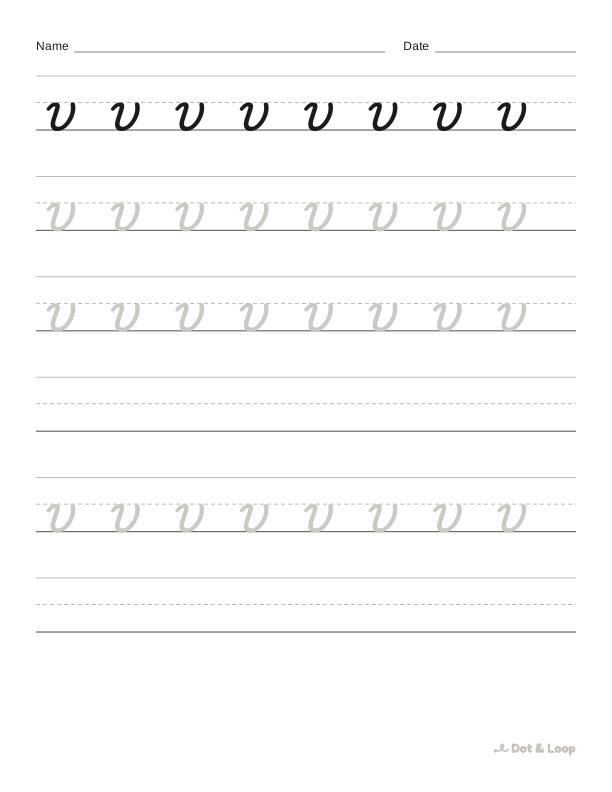
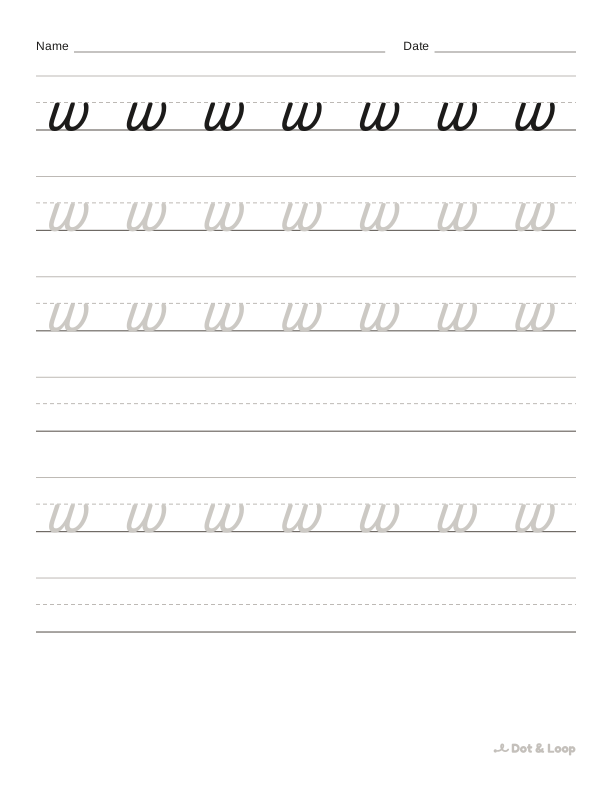
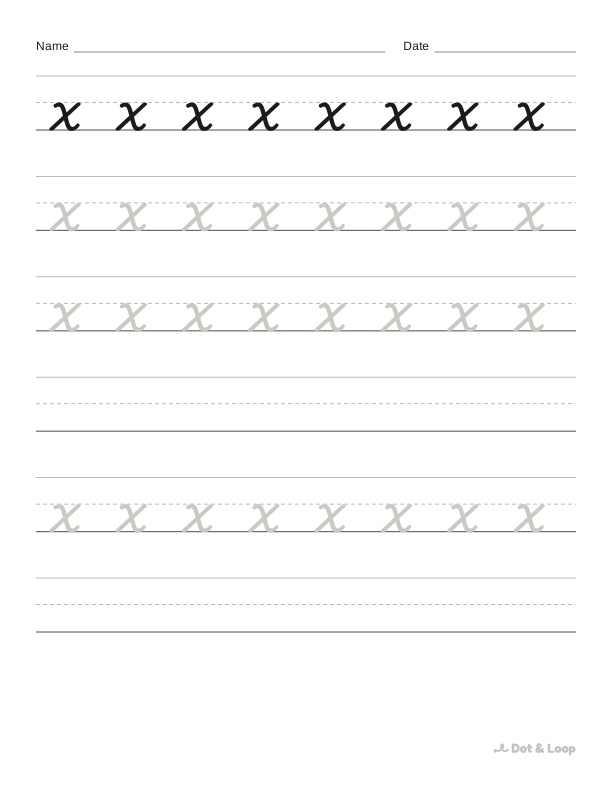
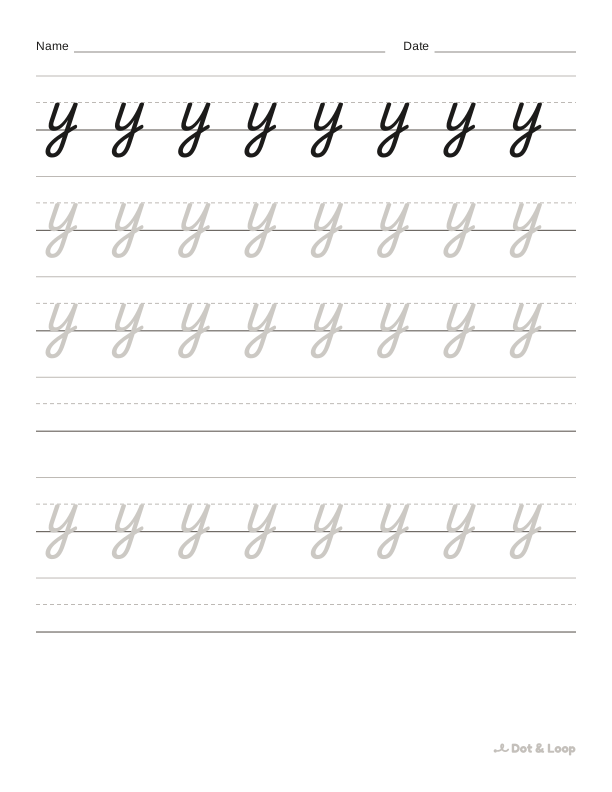
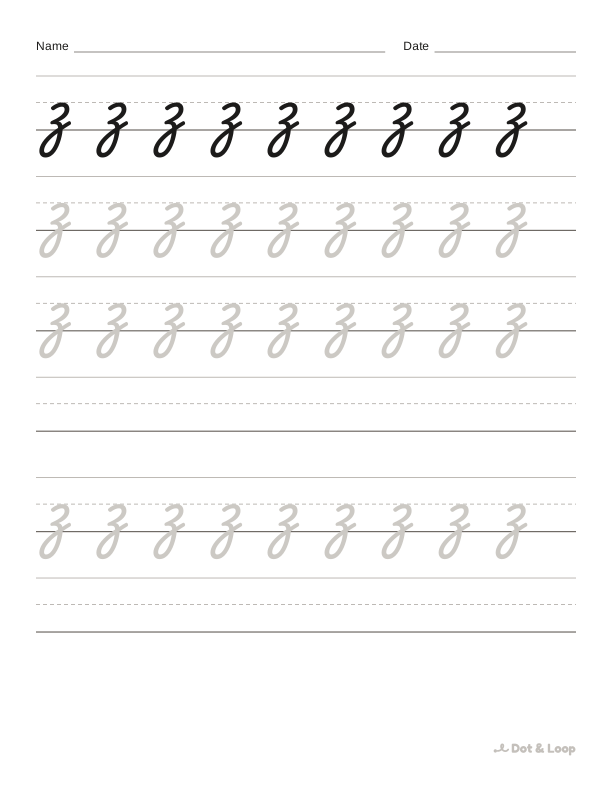
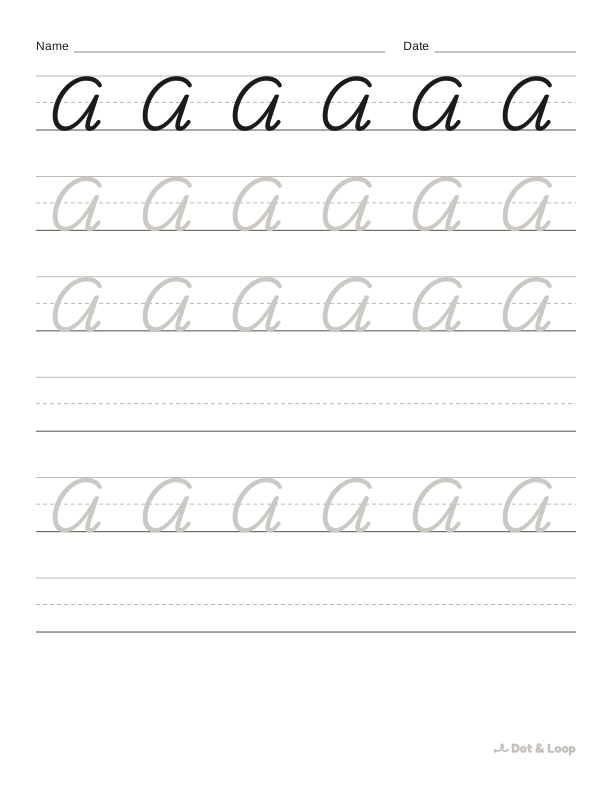
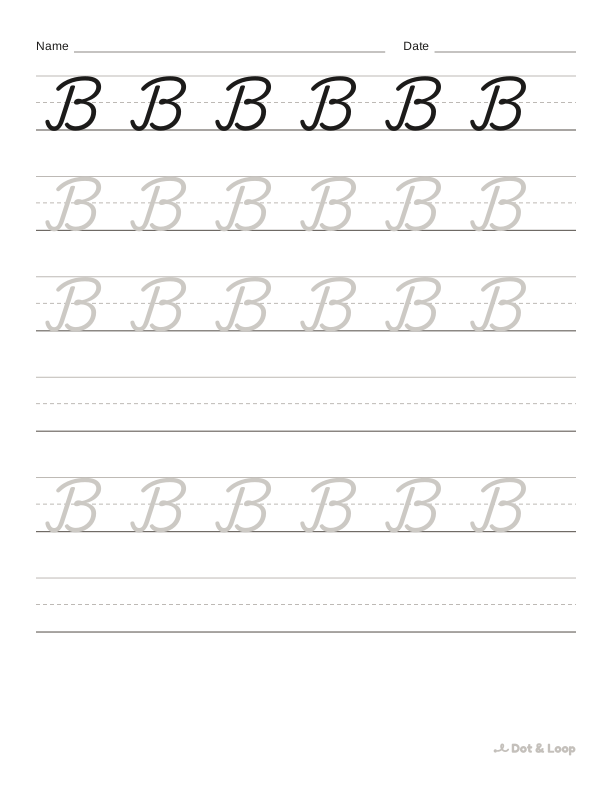
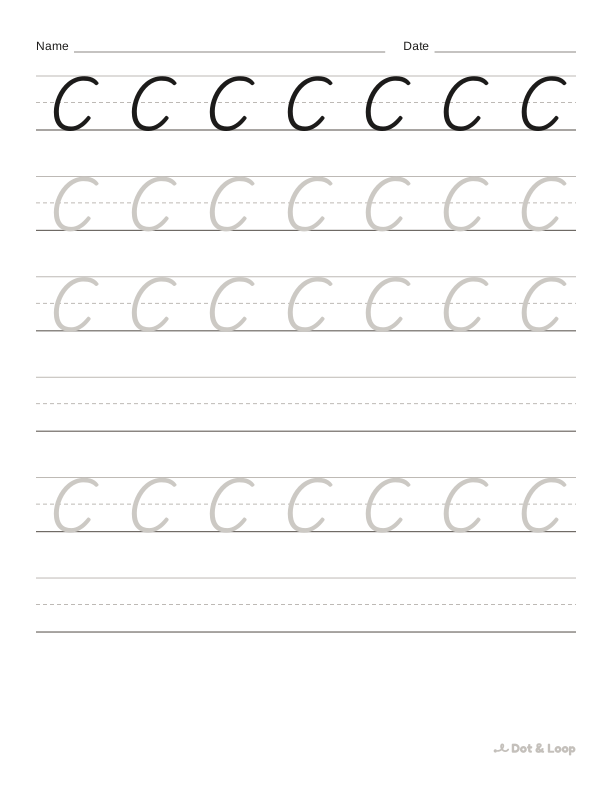
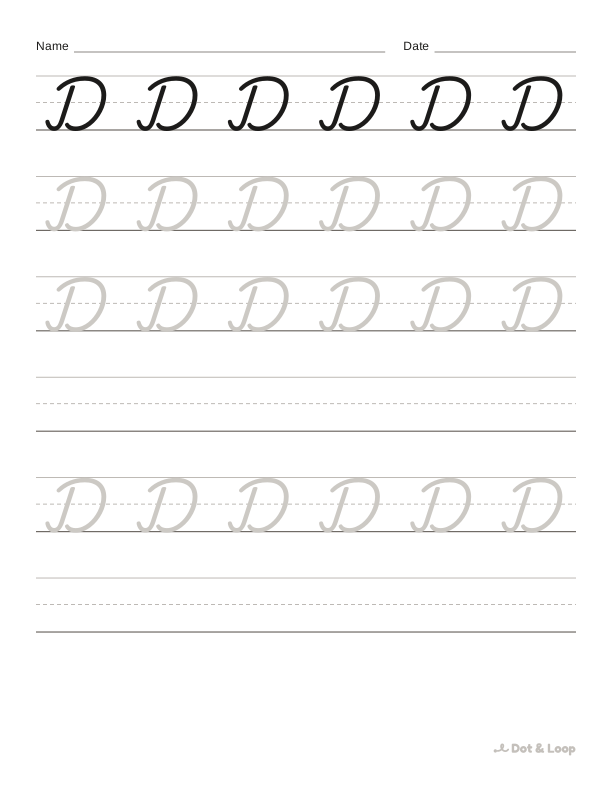
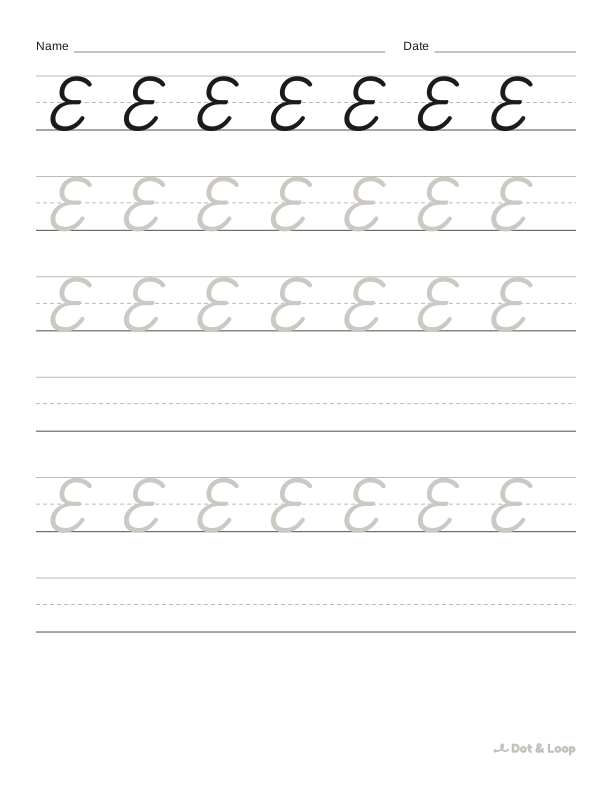
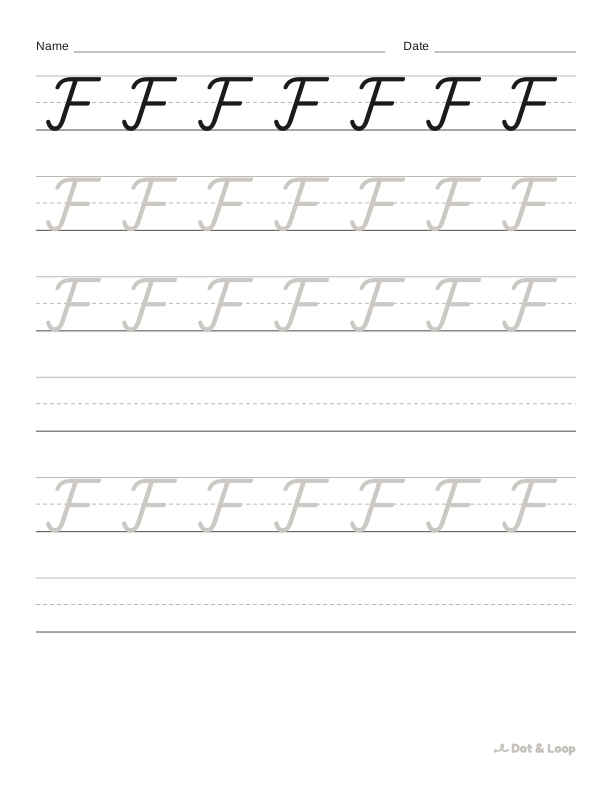
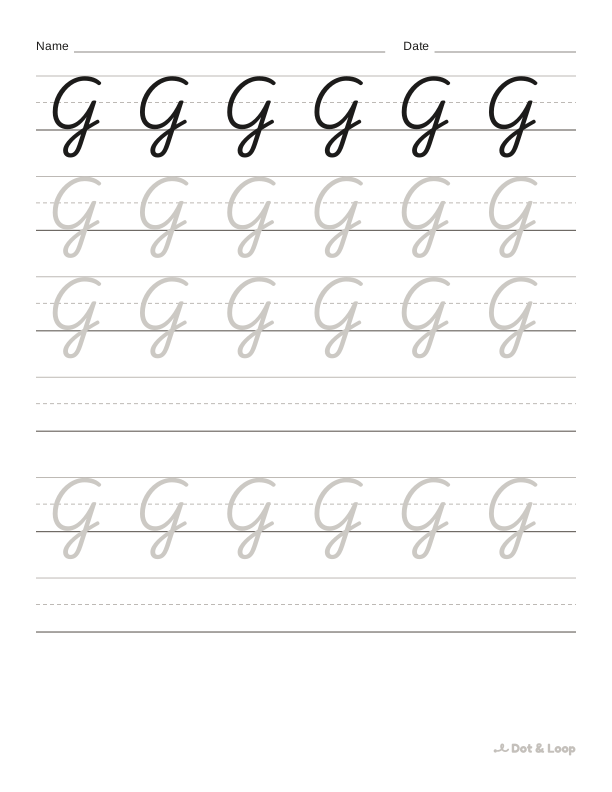
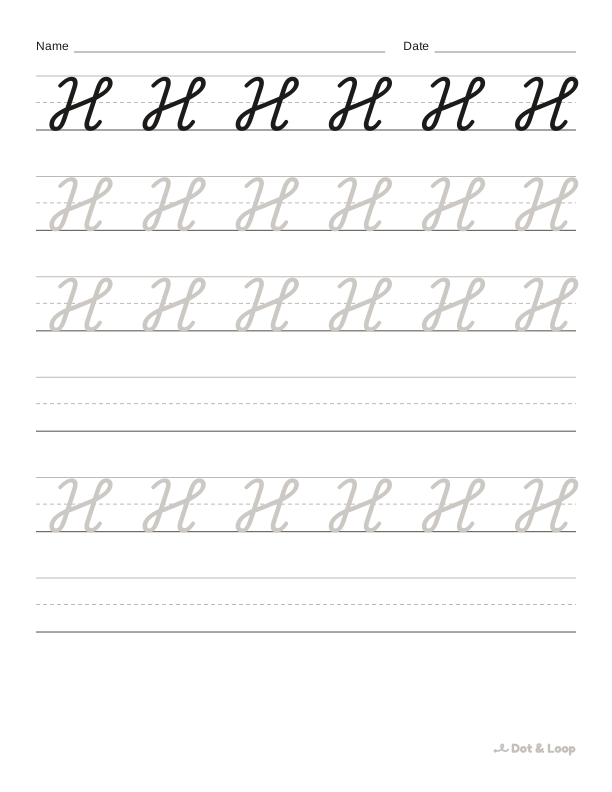
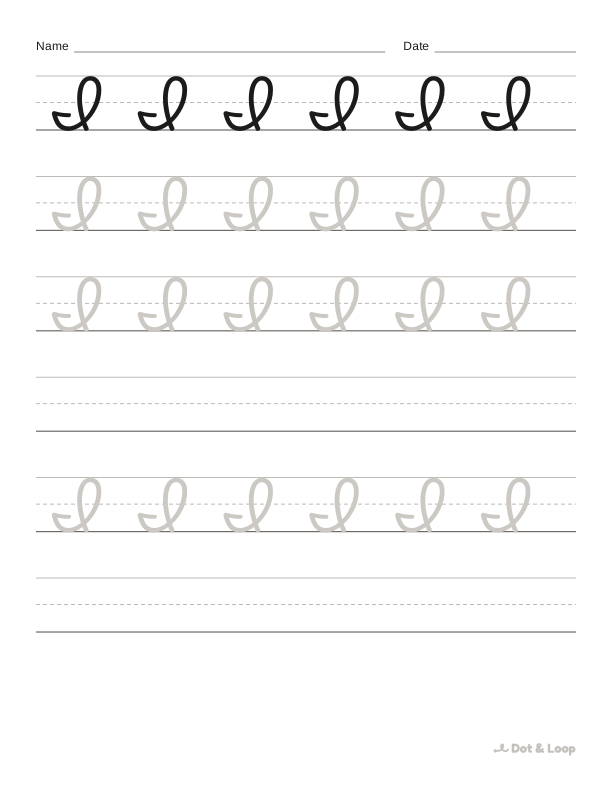
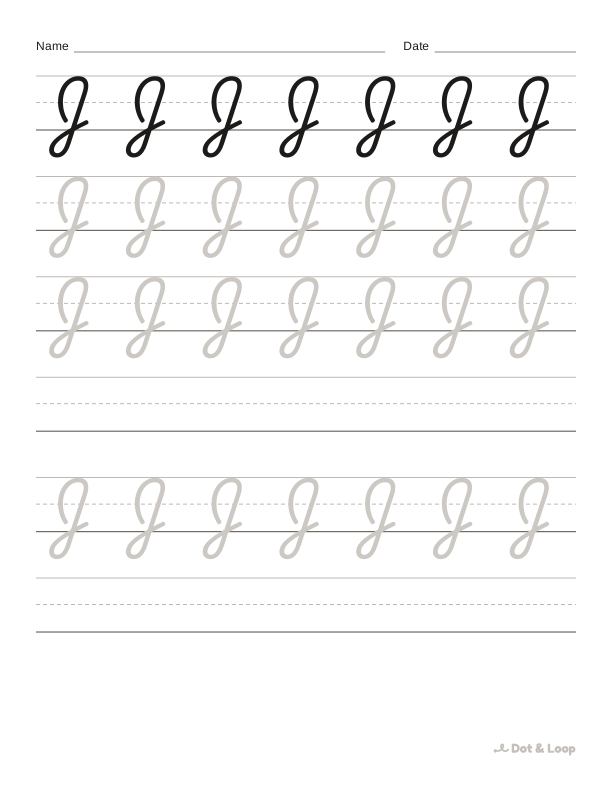
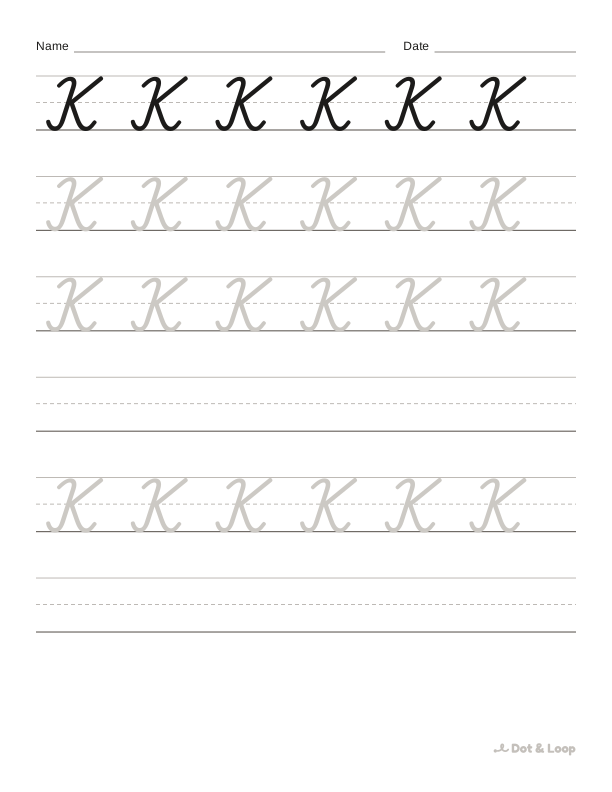
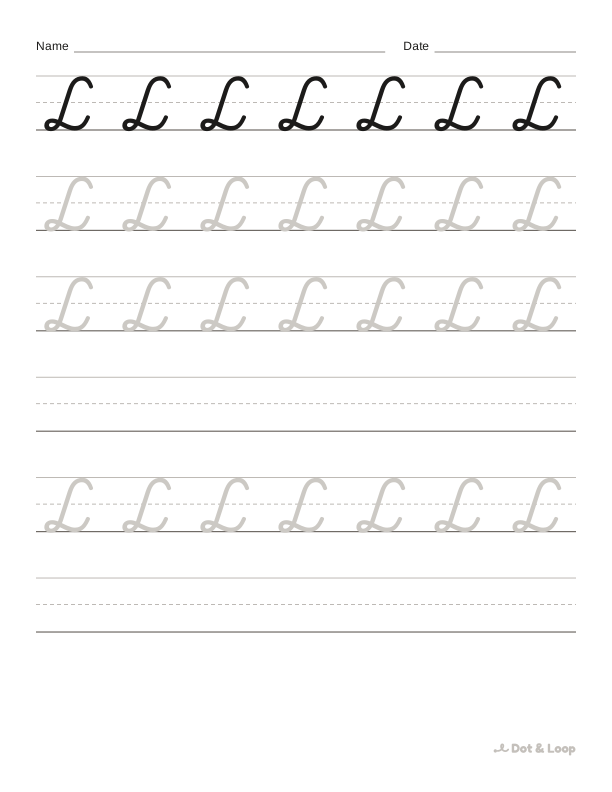
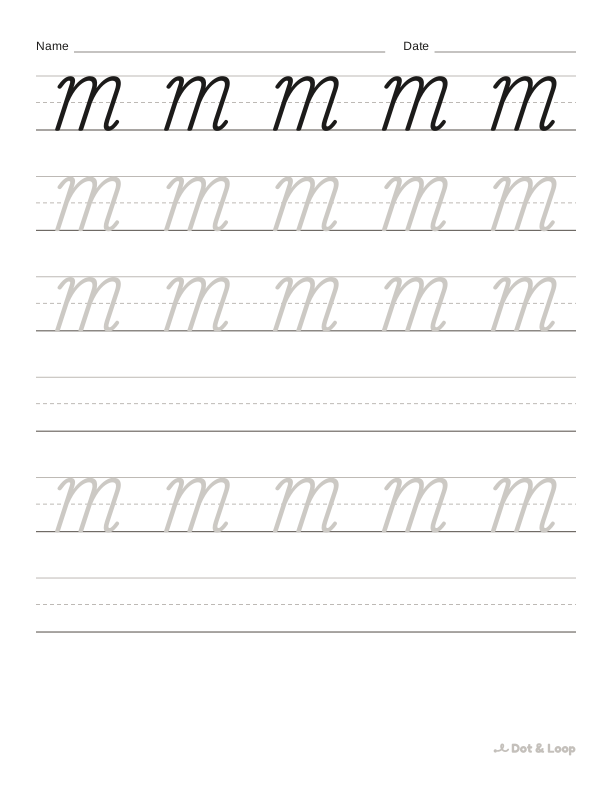
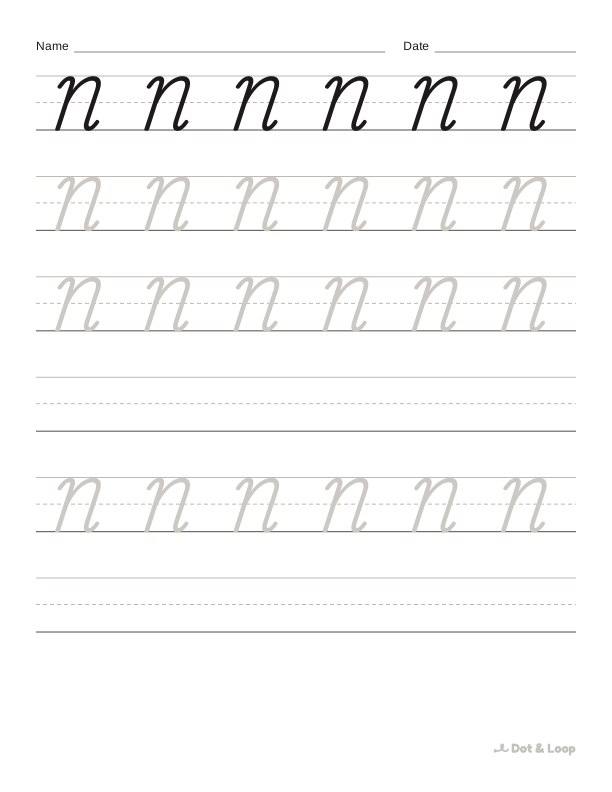
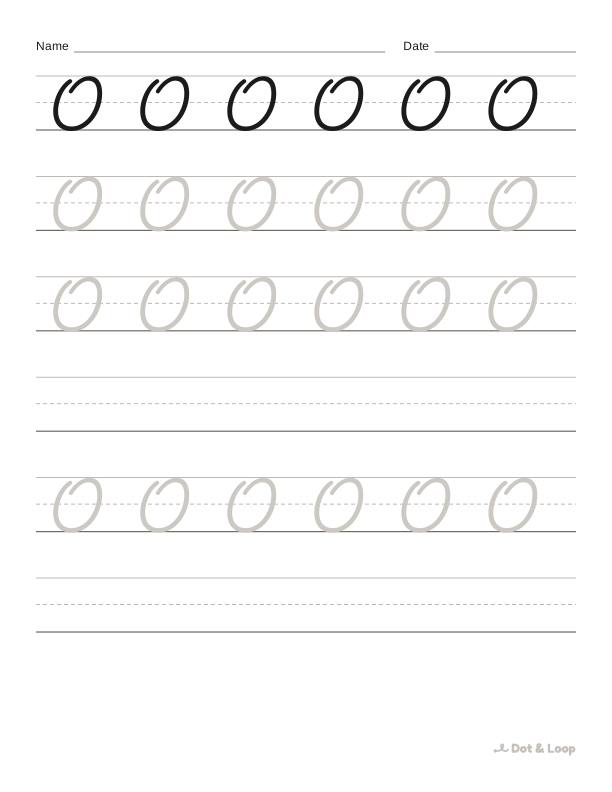
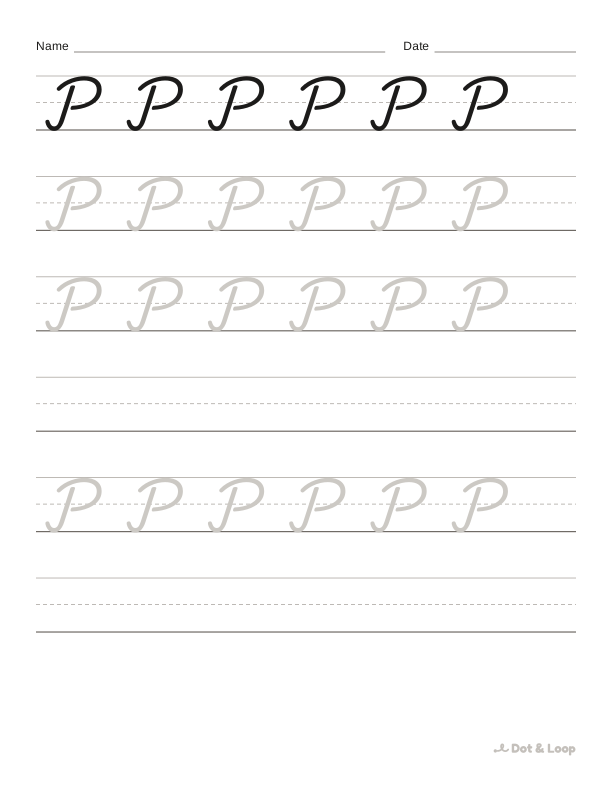
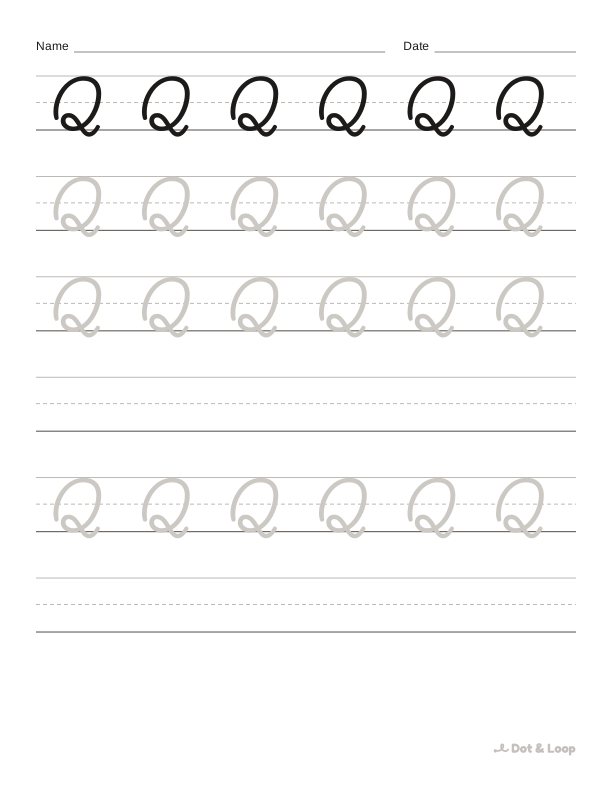
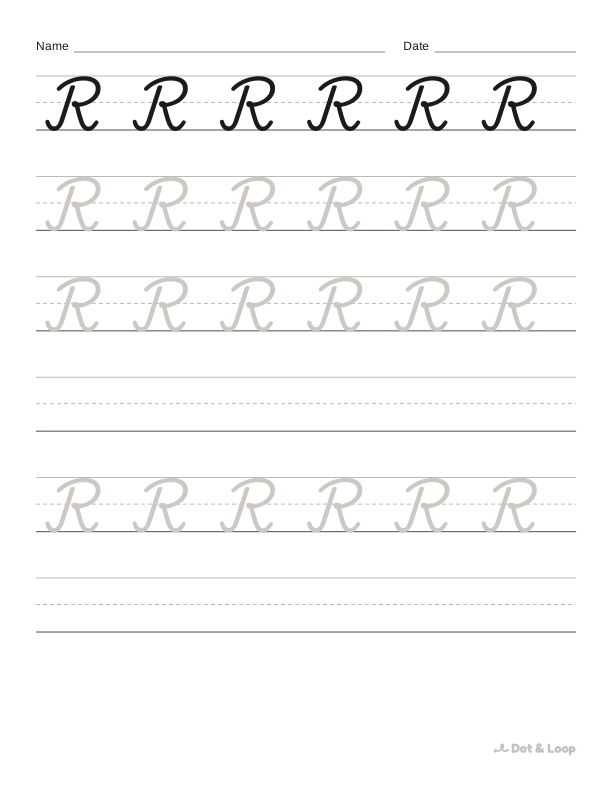
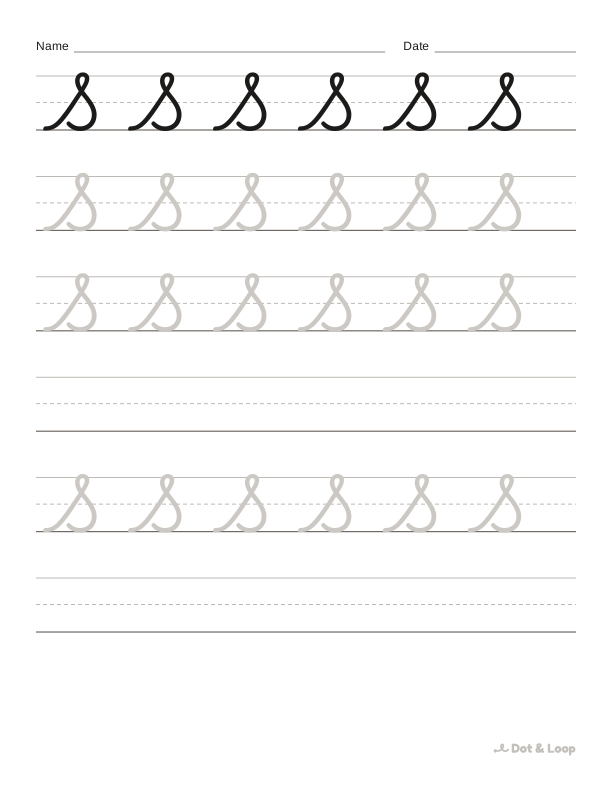
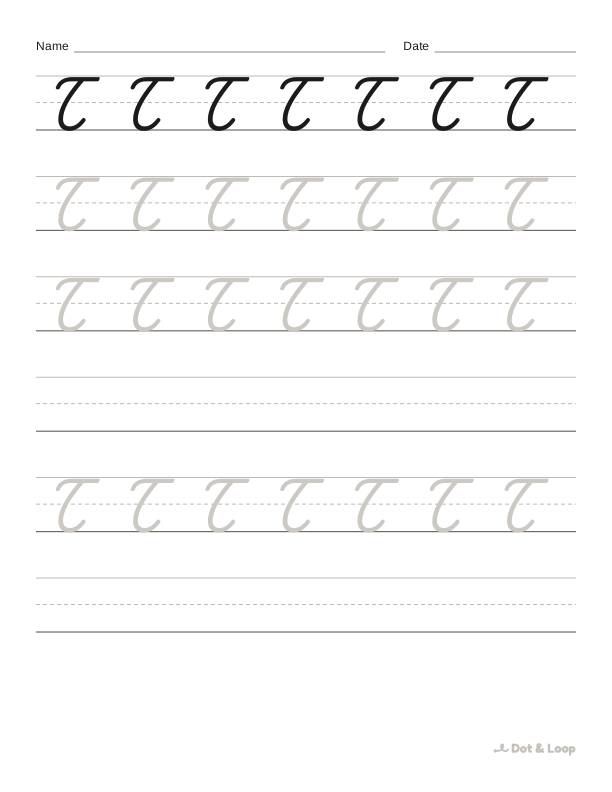
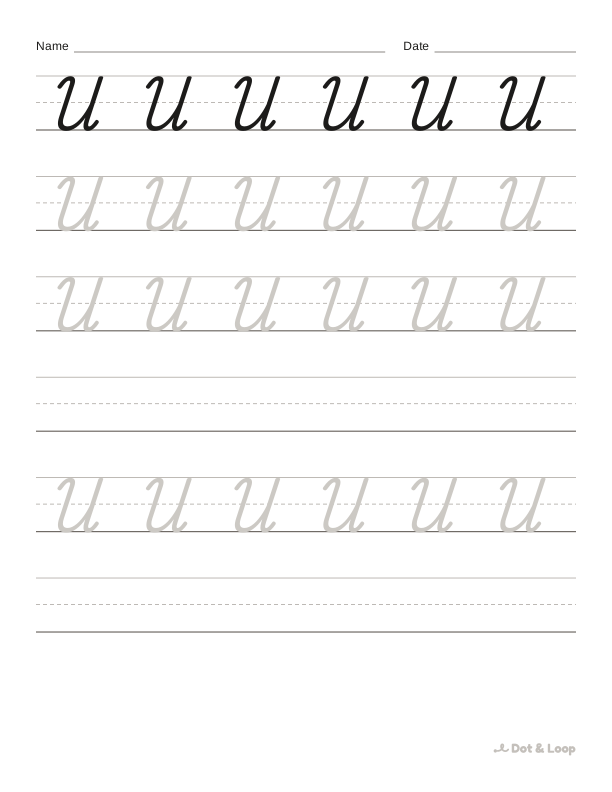
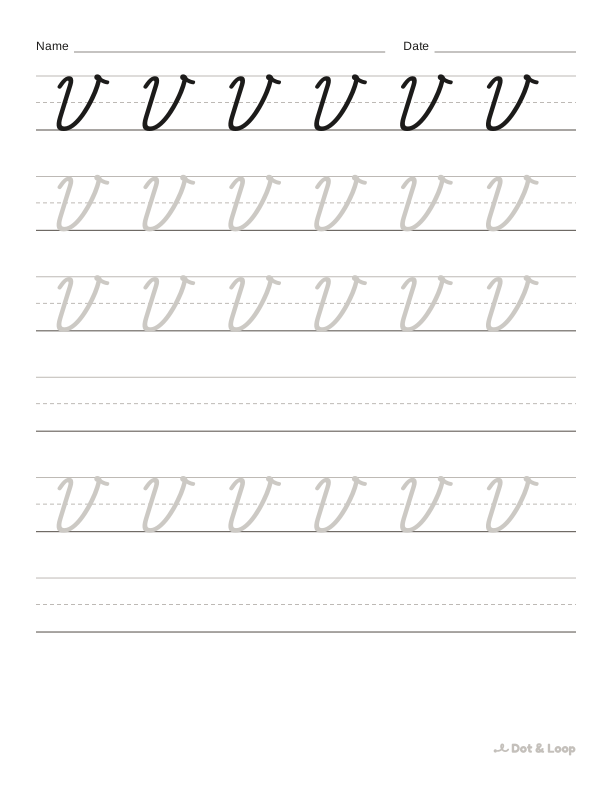
One practice page for every cursive letter: 26 lowercase, then 26 capitals. Each page has a model row, grey letters to trace and empty rows to write alone.
Every page in the set
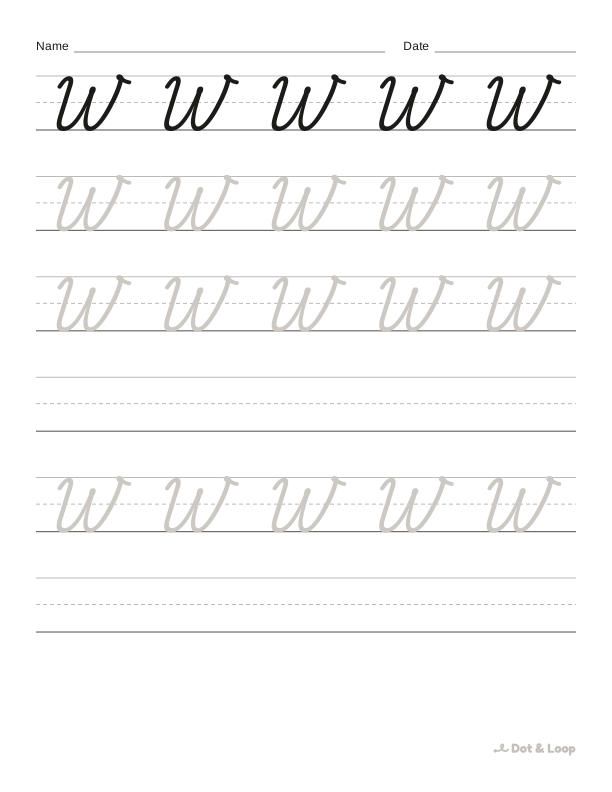
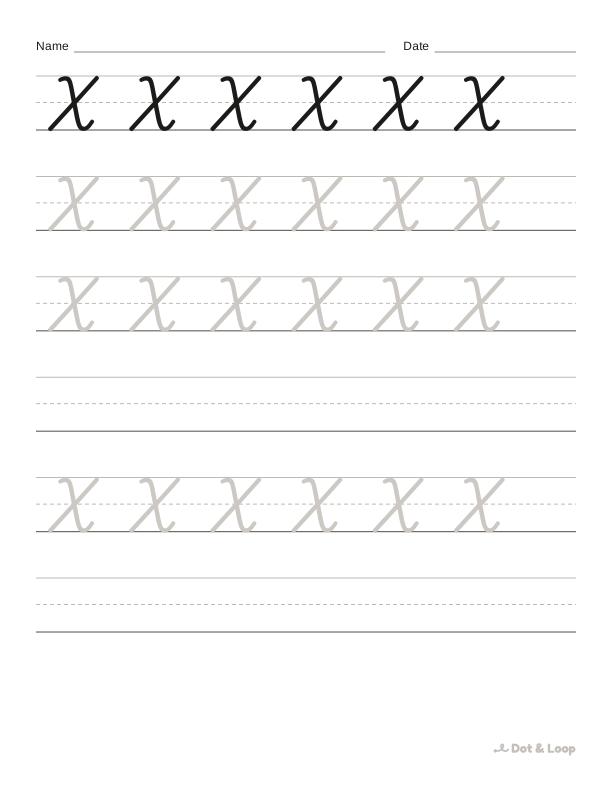
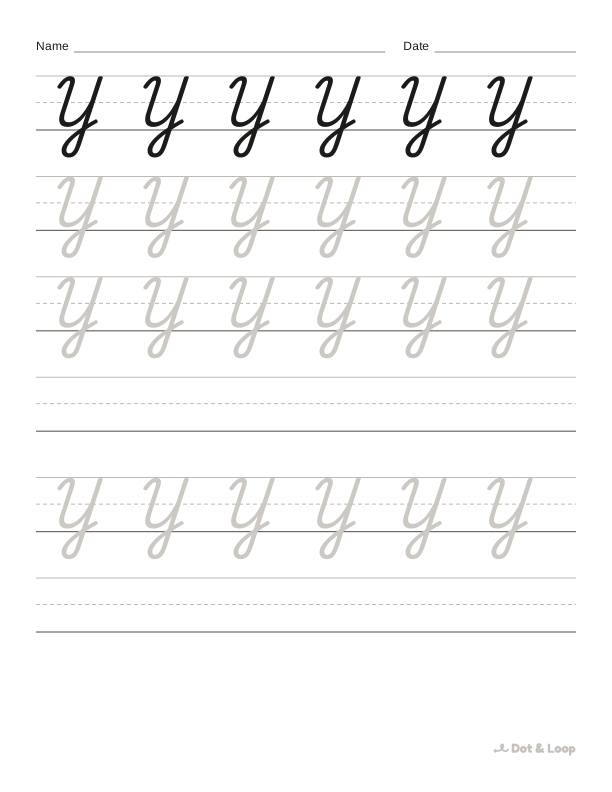
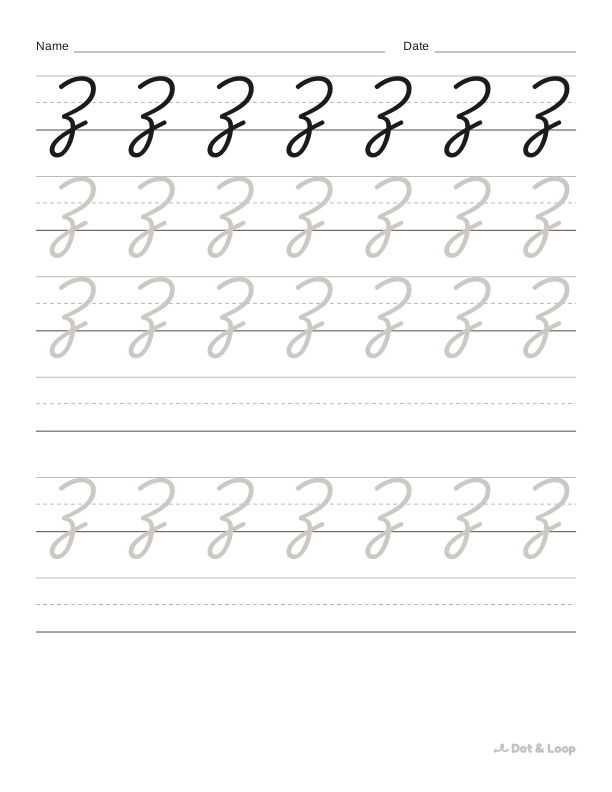
How to use this set
- Start with the lowercase letters, in the order your child’s school teaches, or by group: undercurve letters (i, t, u, w) first.
- Do one or two letters a day. Trace slowly, then write the empty rows from memory.
- Leave the capitals until the lowercase letters feel easy.
What is in this cursive alphabet set
This set has 52 pages: one for each lowercase cursive letter from a to z, then one for each capital from A to Z. Every page follows the same layout so a child always knows what to do:
- A model row in solid black, showing the letter exactly as it should look.
- Rows of grey letters to trace. Grey rather than dotted, because cursive is about one smooth movement, and a solid path is easier to follow without stopping and starting.
- Empty rows to write alone, where the real learning happens.
Each sheet is ruled with three guide lines, and the dashed one in the middle sits exactly where the small letters stop, so children can see straight away that a, c and o stay below it while b, h and l reach the top line, and f, g, j, p, q, y and z drop below the baseline.
You can print one letter, print a handful for the week, or download the whole set as a single PDF for US Letter or A4.
The order to teach cursive letters
Printing the set in alphabetical order is convenient, but teaching it that way is harder than it needs to be. Most handwriting programmes teach lowercase cursive in groups of letters that begin with the same stroke. A suggested order using the pages in this set:
| Week | Letters | Group |
|---|---|---|
| 1 | i, t | Undercurve |
| 2 | u, w | Undercurve |
| 3 | e, l | Undercurve with loops |
| 4 | b, h | Undercurve with loops |
| 5 | f, k | Undercurve with loops |
| 6 | r, s | Undercurve, new shapes |
| 7 | j, p | Undercurve, below the line |
| 8 | a, d | Downcurve |
| 9 | g, o | Downcurve |
| 10 | c, q | Downcurve |
| 11 | n, m | Overcurve |
| 12 | x, y | Overcurve |
| 13 | v, z | Overcurve |
Thirteen weeks takes a child through all 26 small letters, a pace that suits most second and third graders. Children who already know some cursive can move faster; younger children may want one letter a week.
Capitals come after the lowercase letters. A sensible capital order begins with whatever capitals appear in your child’s own name. After those, do the joining capitals such as A, C, E, H, K, M, N, R and U, and save the eight loners (B, D, F, O, P, S, V, W) for last, since your child has to remember to lift after each one.
A ten-minute cursive practice routine
Long sessions tire small hands and make writing sloppier, not better. A short, focused routine works best:
- One minute of warm-up. A line of joined loops like a telephone cord, then some gentle waves, on any scrap of paper.
- Look and say. Look at the model row and say the strokes out loud. For i: “undercurve up, slant down, undercurve out, then the dot.” Saying the steps links the words to the movement.
- Trace two rows slowly. Keep the pencil moving along the grey path. Stopping in the middle of a letter is a sign to slow down, not speed up.
- Write two rows alone. Cover the model if your child is ready.
- Pick a winner. Your child chooses one letter per row they are proudest of and explains why. Children quickly start to notice size, slant and closed loops.
- Join it. End with two or three letters already learned joined to the new one: “it”, “ti”, “tit”.
Five days a week of this beats one long weekend session every time.
What to check on each letter
When you look over a finished page, three things matter more than anything else:
- Size. Small letters touch the midline but do not go over it. Tall letters reach the top line. Letters with tails drop about the same distance below the baseline.
- Slant. In the upright school style used here, letters lean very slightly or not at all. What matters most is that all letters lean the same way.
- Closed shapes. a, d, g, o and q must close at the top, or they turn into other letters. This is the single most common reason cursive is hard to read.
If one of these is off, mention just one thing, and praise something that is right. Children improve faster when they have one clear target.
Printing and paper tips
- Print at 100% scale. Some print dialogs shrink pages to fit, which makes the lines narrower than intended. Choose “actual size” if you see the option.
- US Letter or A4. Pick the paper your printer uses. The letters stay the same size on both; only the margins change.
- Black and white is fine. No colour is needed; the grey path comes out as a soft, even tone on any home printer.
- Laminate the tricky ones. For letters like f, q and z that need many repeats, a laminated page and a washable marker save paper.
- Pencil choice. A regular pencil with a soft lead (HB or No. 2) is ideal. Very hard leads are faint and make children press too hard.
How this set fits with the rest of the site
The alphabet set is the core of cursive practice, but children learn faster when letters are used in real words.
- Every letter also has a page of its own under cursive letters, where the strokes are spelled out and the usual slip-up is explained.
- The beginner cursive worksheets group the letters in teaching order and add first short words.
- The connecting letters worksheets move from single letters to pairs, ending with the bridge strokes that leave b, o, v and w from up high.
- The cursive words and cursive sentences sets move practice into real writing.
- The cursive worksheet maker prints any word, name or sentence you type, in the same style.
Signs your child is ready for cursive
Age seven or eight is typical, though plenty of six-year-olds manage well and some nine-year-olds still need more print practice first. These signs tell you more than a birthday does:
- They write print letters neatly and can keep them on the line.
- They hold a pencil with a steady grip, not a tight fist.
- They can copy simple shapes such as a loop, a figure eight and a wave.
- They are curious about joined writing, perhaps from seeing an older sibling or a grandparent’s handwriting.
If your child is younger and keen, there is no harm in trying a few letters. If they find it frustrating, put the sheets away for a couple of months and come back. Readiness often arrives quickly.
Lowercase pages and capital pages: what differs
The 26 lowercase pages use the 3/4 inch line size and repeat the letter several times along each row, because small letters are quick to write and benefit from rhythm: the hand settles into a pattern after three or four repeats. The capital pages use larger letters with fewer repeats, because capitals are bigger, more decorated, and need more care per letter.
The lowercase pages also show how each letter ends. Most finish with a small undercurve that is ready to lead into the next letter, while b, o, v and w finish with a short checkstroke at the midline. Capitals that stand alone end cleanly with no exit stroke. Noticing these endings early makes joining much easier later.
Tracking progress across the alphabet
A simple tracker keeps motivation up over the weeks it takes to learn the whole alphabet. Write a to z across the top of a sheet of paper and give each letter a sticker or a star when your child can write it from memory, correctly sized and closed, on two different days. Capitals get their own row later.
Two days matters. Many children can write a letter well straight after practising it, then lose it by the next morning. A letter that comes back correctly a day later has really been learned. Letters that keep slipping are the ones to revisit with an extra page from this set, or with the matching word page, such as a list of words that start with that letter.
Older children often like to keep their first and last attempts at a letter side by side. The difference after a few weeks is usually striking, and it shows them that slow, careful practice works.
For teachers
Teachers often print the whole PDF once and keep it in a binder, copying pages as each letter is introduced. A few ideas that work well in class:
- Pair each letter page with a short word list using only letters already taught.
- Use the capital pages for a “name of the week”, practising the capital that starts a classmate’s name.
- Send one letter page home each Friday as light weekend practice, with the letter’s guide link for parents.
The pages are free for home and classroom use.
Questions parents ask
Which cursive style are these sheets?
The school cursive most US schools teach (Zaner-Bloser style), with the school capitals where B, D, F, O, P, S, V and W stand alone.
Can I print one letter?
Yes. Every page below has its own Print and PDF buttons, and each letter has a page with steps and more sheets.